Full-stack Droplet Pairing
December 26, 2018
Or how we figured out how to remote pair on projects (even frontend!) with Vim, Tmux, and SSH.

Almost every Saturday morning, Skype starts sounding off like a reveille. The familiar tones mean it's time for a call with my friend Lee, where we'll chat and pair on a project for a couple of hours. We've tried multiple pairing tools together—notably Screenhero, which Slack later acquired. Slack screen sharing is nice in theory because it lets you control the other user's screen. But in practice, the screen ends up grainy and any actions you take feel sluggish. Eventually, we got fed up, which led us to...
Vim, Tmux, & SSH ❤️
Instead of sending an entire screen over a video chat, we started pairing on a remote server via SSH. It only took us a few steps:
One: Procure a Linux server
We set up a droplet on Digital Ocean (AWS or anywhere else you can get a Linux VM works, too!). The cheapest one runs $5 per month, at the moment.
Two: Add ssh keys
With the default Ubuntu image up and running, we added our public ssh keys to ~/.ssh/authorized_keys.
Three: Install tmux and your preferred version of Vim (if they're not on by default)
We checked for the latest packges with apt-get update, and then installed tmux with apt-get install tmux. We upgraded to Vim 8 with apt-get install vim.
Four: Create a join a shared session
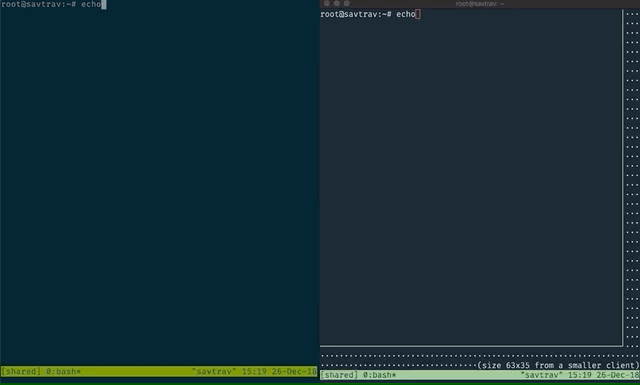
We both SSH'ed in, one of us started a new tmux session with tmux new -s shared, and the other one joined it with tmux attach -t shared.
(Optional) Five: Echo silly phrases back and forth
At this point, we excitedly sent eloquent missives like hiiiiiiiiiiiiiiii. But I suppose you could start some backend development. Maybe run a test suite, or something.
Heading to the frontend
One question we had going into vim/tmux remote pairing was whether we could develop frontends. On Slack calls, we could see the same browser when one of us shared our screen. In the end, frontend development on the droplet was much easier than we anticipated.
The first thing we did was install Docker on the server. Digital Ocean has a great guide on this. With Docker set up, we created a Docker file and a default app with create-react-app. (We generated that initial React app inside of a different Node container and ran a docker cp).
Here is our Dockerfile that we put at the root of our new React app.
FROM node:10
COPY . /meowfe
WORKDIR /meowfe
RUN npm install --silent

EXPOSE 3000
EXPOSE 35729
CMD ["npm", "start"]
After saving it, we ran docker build -t meowfe to create an image named meowfe. (It should be noted that Lee has a tendency to name most things with "meow" when we're developing.)
Next we ran our new image with docker run -it -p 3000:3000 -p 35729:35729 -v "$PWD"/src:/meowfe/src meowfe. There's a bit going on here. First, we bound both ports 3000 and 35729 that we had previously exposed in our Dockerfile. Port 3000 is where our app was running, and 35729 was for the react-scripts websocket that pushes hot-reloading changes connected clients. We also used a volume with -v "$PWD"/src:/meowfe/src. The volume mounted our host filesystem's (in this case the droplet) src directory to /meowfe/src inside the container. As a result, when we made changes to the files on droplet, they were immediately seen inside the container without having to restart it!
With the correct ports exposed, we connected to savtrav.net:3000 in the browser (we added a domain but you can just use the IP). When we did, the default Create React App page appeared! Even cooler, we then made a change to the source code to edit the title, saved, felt eternity pass by in a second, and then... voila! Our change appeared in both of our browsers simultaneously!
Wrapping up
Pairing with Vim, Tmux, and SSH has been a really excellent experience for us. We both get to work in our preferred environment, and the improved responsiveness makes it feel more like we're sharing the same machine. Inspired to give it a try? Have any questions? Give me a shout at @rtravitz on Twitter.